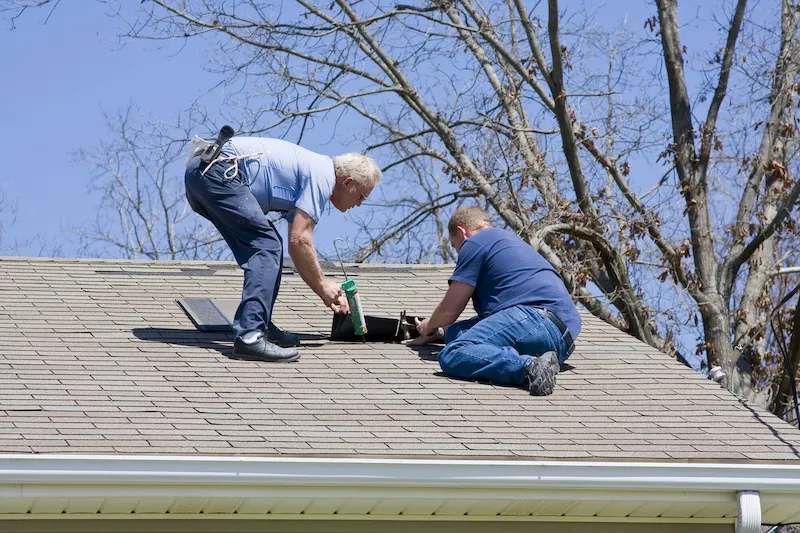
Installing an Ethylene Propylene Diene Monomer or EPDM roof can be a game-changer for your property, offering excellent durability and weather resistance. However, roofing mistakes during the installation process can undermine these benefits.
Let’s dive into four common mistakes to avoid during EPDM roof installation, setting your project up for success and long-term performance. This easy-to-follow guide will ensure you sidestep potential pitfalls and get the most from your new EPDM roof.
1. Incorrect Surface Preparation
It’s akin to building a house on a shaky foundation. When the base isn’t prepared right, the entire structure is compromised. Often, people rush through this process, eager to lay down the EPDM membrane. But this haste can lead to serious issues down the line, including leaks and a shortened roof lifespan.
It also involves making sure the surface is dry and smooth. Ignoring or cutting corners in these steps can lead to installation pitfalls, causing more expense and hassle later on. Proper surface preparation is a crucial step in the EPDM roof installation that shouldn’t be overlooked.
2. Lousy Seam Treatment
Seams are the meeting points of different roofing sections, and if they aren’t treated correctly, they can be the weakest spots on your roof. This can lead to potential leaks down the road, causing water damage to the property beneath.
Roofing contractors must ensure that the seams are thoroughly cleaned, primed, and sealed to prevent such mishaps. The use of high-quality seam tape and adhesive is paramount to achieving a secure, leak-proof seal.
A poorly treated seam can compromise the entire roof’s integrity, leading to costly repairs and even a total roof replacement.
Read Also: The Ultimate Guide To Choosing The Right Emergency Generator For Your Home
3. Inadequate Adhesive Use
Inadequate use of adhesive is another common error in EPDM roof installation. Simply put, the adhesive is the glue holding the EPDM membrane to the roof deck. Using too little or too much can cause problems. If you skimp on the adhesive, the membrane might not stick properly, leading to bubbles or loose areas that can capture water and debris.
The key to avoiding this installation mistake is using the right amount of adhesive and applying it evenly. To do this, follow the manufacturer’s instructions closely. Take your time and avoid rushing through this part of the process.
Allow the adhesive to dry enough to be tacky but not completely dry before applying the EPDM membrane. This will help ensure a strong, long-lasting bond between the membrane and the roof deck.
4. Neglecting the Weather Conditions
When you’re working on EPDM roof installation, you can’t ignore the weather. Mother Nature is very much a part of your project. If the temperature is too cold, the adhesive may not stick effectively. If it’s too hot, the adhesive can get overly tacky and hard to work with.
Rain is another weather condition to watch out for. A wet roof makes the adhesive less effective, and it can cause a lot of slips and falls. Also, wind can blow dust and debris onto the adhesive, reducing its effectiveness. So, always check the weather forecast before starting your EPDM roof installation.
Learn More About EPDM Roof Installation
To wrap up, putting in an EPDM roof installation can be tricky. You have to prep the surface right, treat your seams well, use enough sticky stuff, and watch out for the weather.
Do it right, and you get a good, solid roof. Do it wrong, and you’ve got a wet mess on your hands. So, take your time, follow the steps, and you’ll be just fine.
Did you find this article helpful? Explore additional content on our blog for more information!


