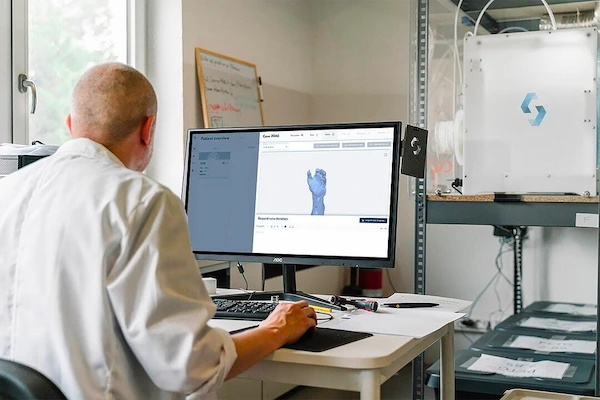
Have you ever wondered how to 3D scan your favorite objects and bring them into the digital world? It’s like capturing a moment in time, but instead of a photo, you get a 3D model that you can play with, modify, or even print!
Our step-by-step guide will walk you through the process, ensuring you can easily transform any item into a digital masterpiece. Whether you’re a hobbyist, designer, or just love to create, learning how to 3D scan opens up a universe of possibilities.
Let’s dive in!
Select a 3D Scanning Method
Choosing a 3D scanning method is a bit like picking the perfect camera for a photography session. You have to consider what you’re scanning and why. There are a few approaches, like using a 3D scanning app on your smartphone for something quick and simple or going for a professional 3D scanner for a more detailed job.
Apps are usually cheaper and super handy, while professional scanners take things up a notch in quality. If you’re looking to upgrade your equipment, you can explore getting the best used 3D scanners here.
Prepare the Object and Environment
Once you have your scanning method nailed down, it’s time to prep your object. Make sure it’s clean and free of dust or smudges, as these can mess with the scan’s accuracy. Then, find a well-lit spot that’s not too bright or too shadowy, as even lighting makes for the best scans.
If you’re scanning something small, place it on a solid, neutral-colored background. This helps your scanner or app focus on the object without getting confused by its surroundings.
Set Up and Calibrate the 3D Scanner
Setting up your 3D scanner might seem tricky, but it’s just a matter of following the instructions. Most scanners will need to be calibrated, which means they’re being fine-tuned to capture your object with precision. Calibrating helps the scanner understand the space and size of the object, almost like it’s taking a quick practice run before the real deal.
Read Also: The Perks And Benefits Of Graphic Design Internships: What To Look For In An Internship Program
Capture the 3D Scan
Now you’re ready to capture the 3D laser scan. Hit the start button on your scanner or app and slowly move around the object. Keep a steady hand and try to cover every angle, so you don’t miss a spot.
After the scan is complete, save your work. Most scanners and apps will let you review the scan and make touch-ups if needed, so take a moment to check for any gaps or glitches that might need fixing.
Process and Refine the 3D Model
Processing your 3D scan is like polishing a gem-it’s all about making your model shine. After you’ve saved your scan, it’s time to use software to clean up any rough spots and enhance details. The software can fill in holes, smooth out edges, and even let you tweak the shape if you like.
Transform Reality With Our Guide on How to 3D Scan
You’re now ready to turn everyday objects into 3D treasures! By following our guide on how to 3D scan, you’ve unlocked a skill that’s both fun and useful. Remember, the digital world is your playground, and with your new 3D laser scanning knowledge, you can capture anything from a beloved trinket to an impressive sculpture.
So, what will you 3D scan first? Enjoy the adventure of creating!
We hope you found this article helpful. If you enjoyed this, make sure to visit our blog for additional fantastic content similar to this.
.


